Cannabis and Creativity: Myth or Reality?
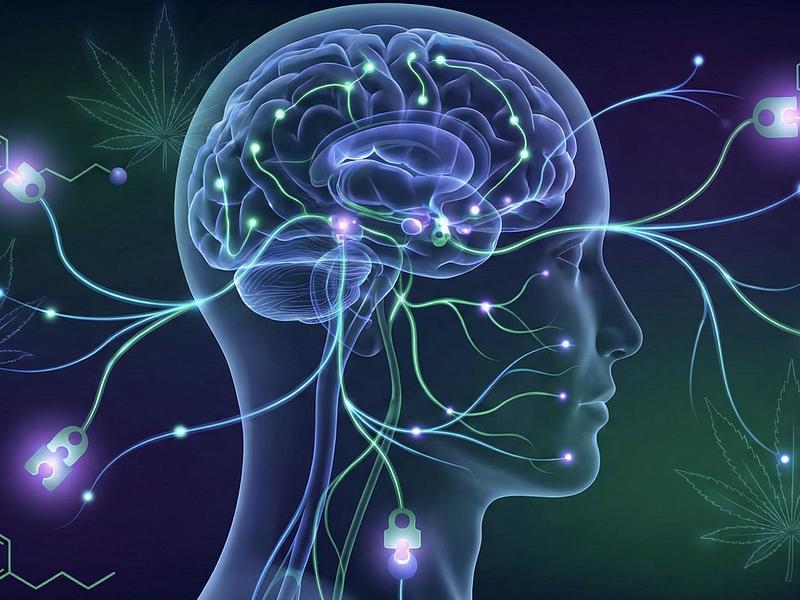
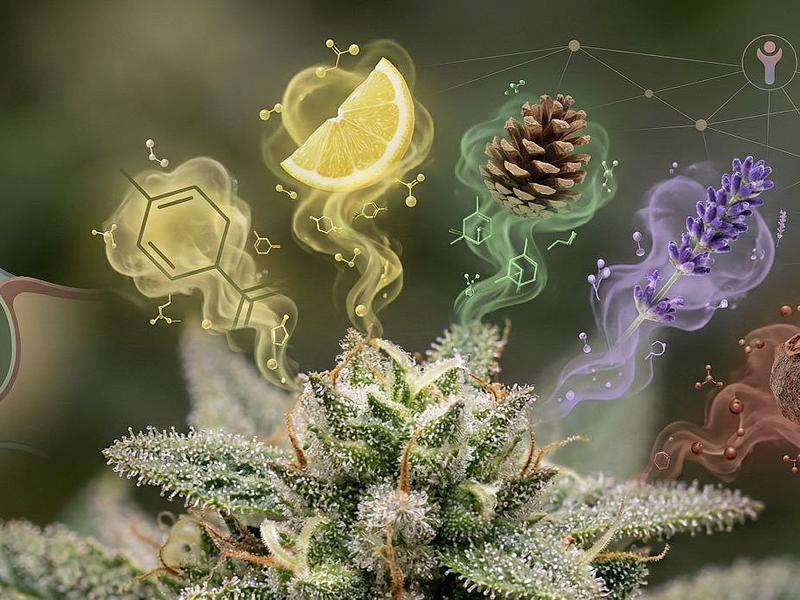
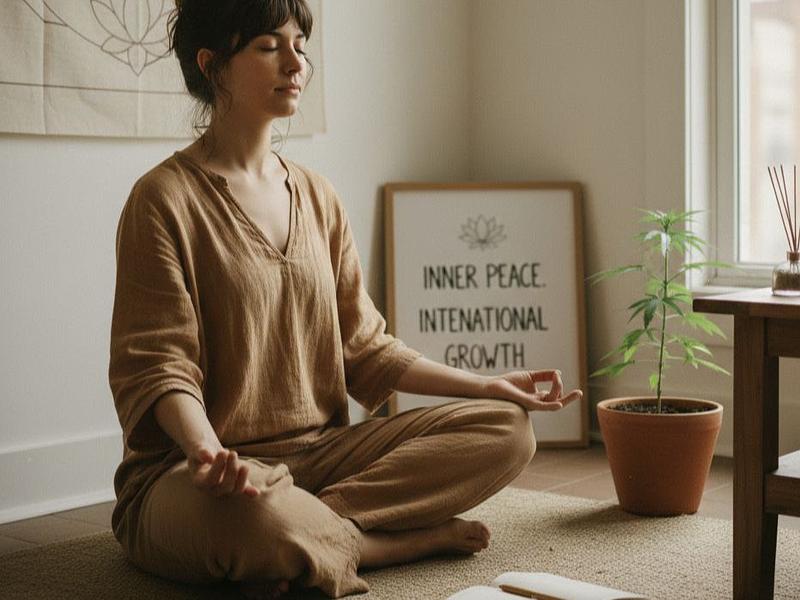
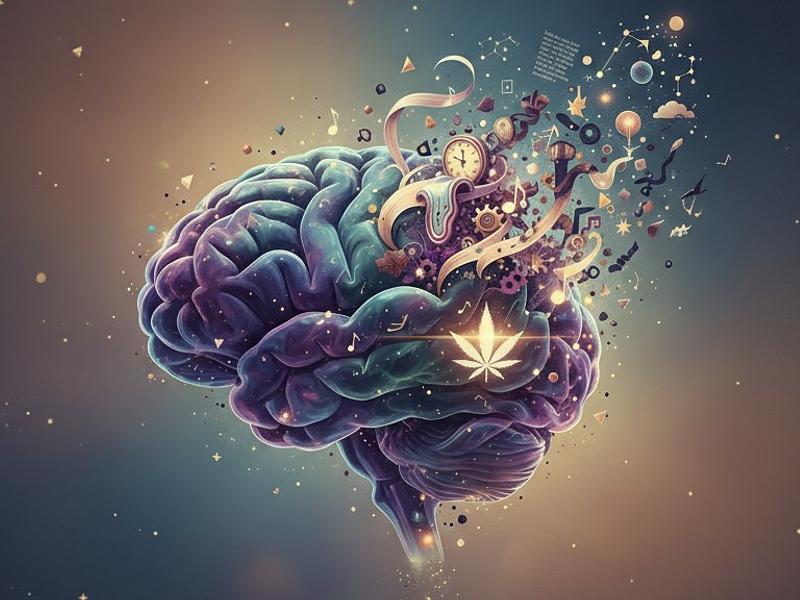
The Age-Old Question The relationship between cannabis and creativity is one of the most enduring and fascinating discussions within the community. Consider the names of renowned creative figures, from writers to musicians, who have admitted to using cannabis as a tool to unlock creative potential. But where is the line between subjective feeling and objective scientific data? Let's examine this question in depth and critically. The Neuroscience of Creativity and Cannabis From a neurobiological perspective, creativity is the ability to form new connections between different concepts and brain regions. Research shows that cannabinoids, particularly THC, affect the prefrontal cortex (responsible for attention, planning, and decision-making) and reduce activity in the brain's default mode network, which activates during daydreaming and spontaneous thoughts. Key Mechanism: Cannabis can "loosen" the filters that screen out peripheral associations, allowing unusual connections to form more easily. This can manifest as: Increased divergent thinking (the ability to generate many ideas) Elevated dopamine in the prefrontal cortex, linked to motivation and enjoyment of the process However, studies (such as the work of Lawn et al., 2016) indicate that cannabis does not make a person "more creative" per se, but rather changes their approach to a problem and information processing. Practical Experience: Community Insights The community uses cannabis in the creative process in diverse ways: The Initial Spark: Many artists note that a light high helps overcome the "fear of a blank page" and the inner critic. Musical Improvisation: Musicians frequently report an increased ability to improvise and a sense of "flow." Writing: For some writers, cannabis aids in idea generation but often hinders critical editing. An important trend in recent years is microdosing and using specific strains for targeted tasks: Sativa-dominant strains with high levels of specific terpenes (limonene, pinene) for energetic, focused creativity. Indica-dominant strains for visual arts and free association. Scientific Data: What Research Says 2012 Study (Kowal et al.): Showed that THC increases the spontaneity and originality of ideas but can impair performance on tasks requiring concentration and structured thinking. 2017 Meta-Analysis (Saklofske et al.): Points to a non-linear relationship: low to moderate doses may promote divergent thinking, while high doses often impair the cognitive functions necessary for creativity. 2021 Study (Mays et al.): Using fMRI, demonstrated that cannabis can reduce excessive activity in brain regions responsible for self-control, which may explain the feeling of "freer" thinking. It is important to note that most studies reveal significant individual differences depending on the user's neurobiology, experience, and expectations. Practical Recommendations for Experienced Enthusiasts Context Matters: Cannabis can be useful for idea generation but is often counterproductive for critical evaluation and refinement of those ideas. Dosage is Key to Success: Both research and practical experience converge on the fact that low to moderate doses (2-5 mg of THC for infrequent users) most often yield positive effects without significant cognitive impairment. Terpene Profile: Pay attention to the terpenes in your strains. Limonene and pinene are often associated with increased focus and mood elevation, while linalool may promote relaxation useful for visual associations. "Creative Mode" vs. "Editing Mode": Many creative people use cannabis only during the idea generation stage but avoid it during analytical work and refinement. Limitations and Risks It's important to mention potential pitfalls: The Illusion of Creativity: The subjective feeling of genius does not always correlate with the objective quality of the results. Tolerance and Dependence: Regular use can diminish creative effects and create a psychological dependence on the state for creativity. Loss of Critical Thinking: Excessive dosage can make the process chaotically unstructured. Conclusion: A Tool, Not a Magic Wand Cannabis does not turn a non-creative person into a genius, but it can alter consciousness in a way that facilitates certain aspects of the creative process. It is more of a catalyst for specific states of consciousness than a source of creativity itself. The best approach is experimental and reflective. Keep a creative journal, noting dosages, strains, context, and results. This will allow you to create a personal map of how cannabis affects your creativity specifically. Remember that the most powerful source of creativity remains the combination of knowledge, experience, persistent work, and an open, inquisitive mind—with or without cannabis. Sources & Further Reading: Lawn, W. et al. (2016). "The acute effects of cannabis on human divergent and convergent thinking." Psychopharmacology Kowal, M. A. et al. (2012). "Cannabis and creativity: Highly potent cannabis impairs divergent thinking in regular cannabis users." Journal of Psychopharmacology Mays, N. A. et al. (2021). "Cannabis use and brain activity during creativity tasks." NeuroImage Saklofske, D. H. et al. (2017). "The relationship between marijuana use and creativity." Psychology of Aesthetics, Creativity, and the Arts This article is intended for informational purposes in regions where cannabis use is legalized. Please use responsibly and adhere to local laws. This response is AI-generated, for reference only.